Set Up
Scaffolding out our Project
Now that we have Django installed, we can get started by setting up the project.
Replit Setup
To setup the project on Replit, go to the homepage, click "Create Repl", and use the Django template. After
you've done this, you should see an editor. However, we still cannot run the project yet, as Django projects
require a random secret key, which isn't generated by Replit. To generate it, open the Shell tab, which can
be found on the right, next to the console. Then open an interactive Python shell by typing
python3 into the shell. From there, input the following into the prompts:
import secrets
secrets.token_urlsafe(32)
CTRL+D to exit the Python interactive prompt
Copy the output minus the quotes, and then find the Secrets button, which should be in the bottom left corner. There, type "SECRET_KEY" on the left, and paste the output on the right. This will allow our Django project to use this new key. Once this is done, click the run button to start the Django project. You should see a webview pop up, confirming everything works.
For Replit, whenever I refer to terminal, I mean the shell, not the console.
Computer Setup
To set up our Django project on a computer, navigate to the directory where we created the virtual environment. Activate this virtual environment. From there, run the following command to create a new Django project:
django-admin createproject ByteClubBlog
This will create a folder called ByteClubBlog inside our virtual environment. This folder will contain all
our project code. You can enter this folder by running cd ByteClubBlog. Then, run the following
command to start the server locally:
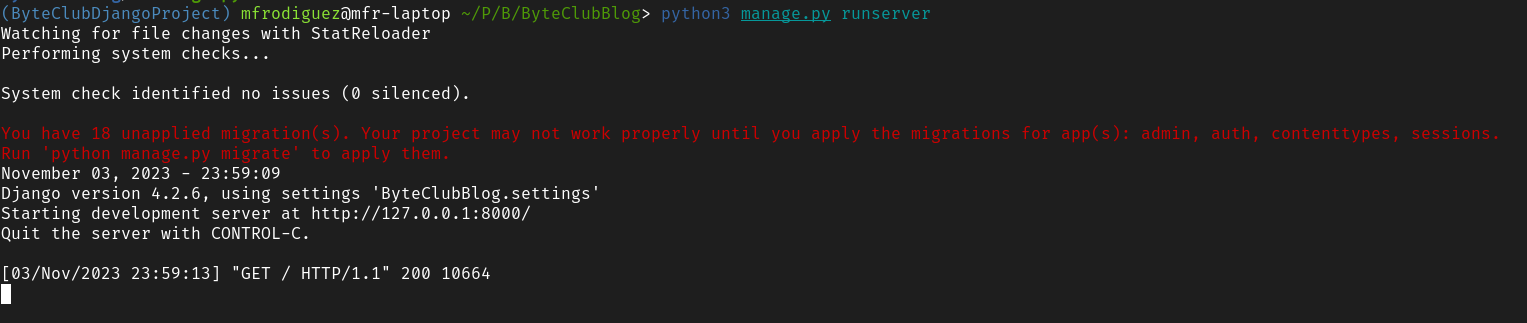
<python command here> manage.py runserver
From now on, I'll be using the Linux command for Python. Whenever you see python3, just replace
it with the Python command your system uses.
Something like this should appear:
You should be able to click on the link, or type the address into your browser and see the result:
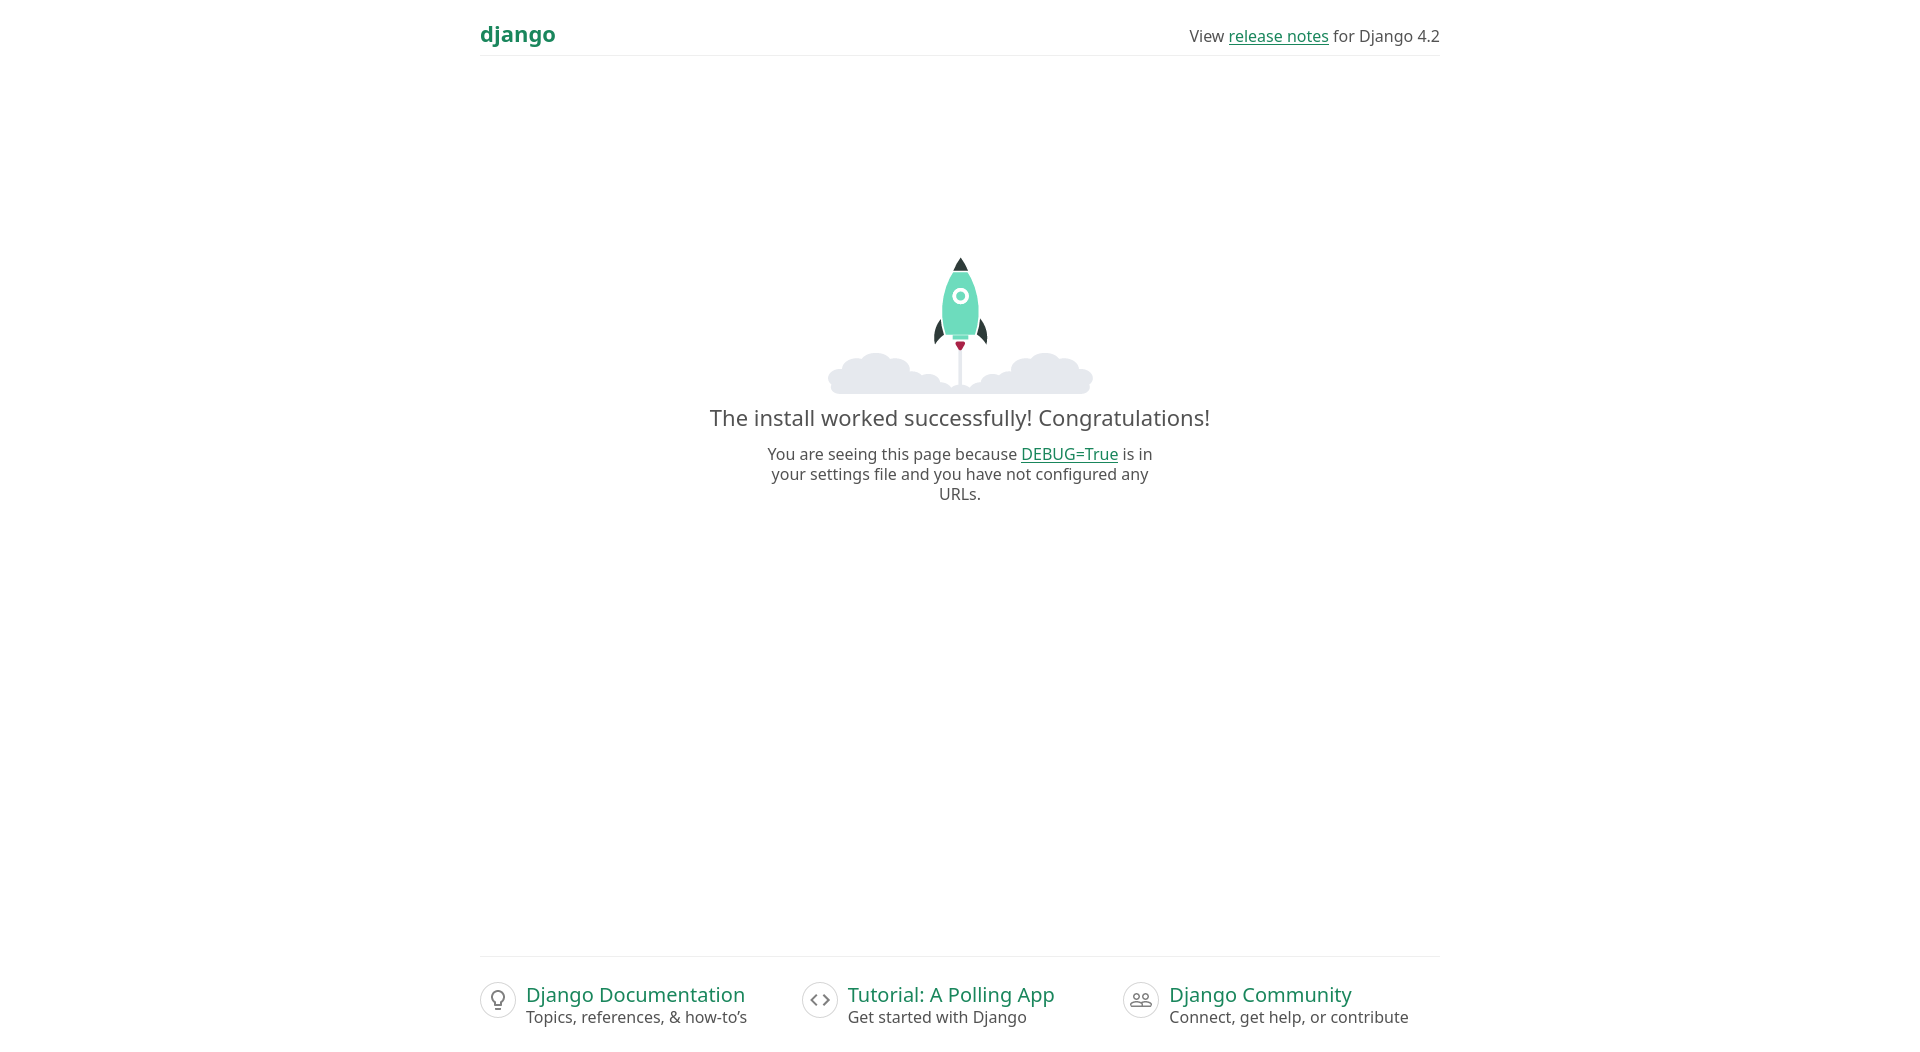
The address127.0.0.1is a special one, as it refers to your local computer. You can replace it withlocalhostin the URL bar and nothing will change. This is becauselocalhostalso refers to your computer.
From now on, you can start your Django server like this. To stop it, simply type CTRL+C in the terminal.
Next, open this folder in your favorite code editor. I generally recommend Visual Studio Code for beginners, but you can use any you like. I myself will be using Neovim. And now, we can almost get to coding!
But First Some Explanation
If you examine the the file structure, you'll see something like this:
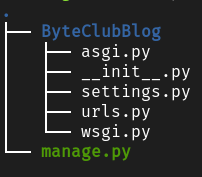
Here is what each file does:
manage.pyhelps us the developer interact with the project, like running it, setting up the database, and creating applications- The inner
ByteClubBlog/directory is the entry point for the website -
__init__.pyis just an empty file that makes it so Python treats our project like a module -
settings.pyis where all of the settings for our website live, like any applications we create (which we will), the location of our static files (images, Javascript, CSS) and database configuration -
asgi.pyandwsgi.pyare boilerplate code that is useful when deploying our code to production. We don't really have a need to mess with it. For now just understand that it is important when deploying our website. -
urls.pyis where some of our URL routing lives. As you may remember, when our website receives a GET requests, theurls.pyfile points it to the matching view to receive a response. Thisurls.pyfile is project-wide. While we could use it to match every URL to a view, it is much more common to delegate it to particular applications.
A website may have multiple components, such as a home page, a profile page, a blog page, etc. Django lets you group the code for similar pages together in applications. For example, we will group everything that has to do with blogging functionality in a blog application, and everything that has to do with users in a users application. Each application has it's own views, and database schemes. We will touch on this later on.
Creating the Blog App
Lastly we can start scaffolding out the app. In your terminal, run the following:
python3 manage.py startapp blog
As you can see, this command starts an app called blog within our Django project. In other news, the sky is blue. In all seriousness, this command is how you start an app in Django. Now lets take a look inside.
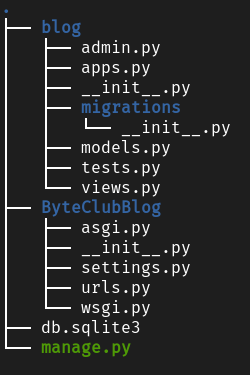
We've already seen what's inside the project folder ByteClubBlog, so lets take a look at the
new arrivals. Among the new files, there are 2 very important ones: views.py and
models.py. If you remember back to the first part of this tutorial, you'll know that these
files are where the actual rendering of the HTML happens (views.py) and where the database
interaction takes place (models.py). This is where most of our code will go. Speaking of
database, we can see that a new one has been created, called db.sqlite3.